See Also
Rehabilitation Goals
- Minimize pain and swelling
- Promote wound healing
- Restore finger motion and function
- Prevent stiffness and scar tissue formation
- Gradually return to daily and occupational activities
Expected Recovery Time
| Milestone | Timeframe |
|---|---|
| Wound healing | 10-14 days |
| Pain significantly reduced | 2-4 weeks |
| Full finger motion | 4-6 weeks |
| Return to light activities | 2-4 weeks |
| Return to full activities | 6-8 weeks |
| Scar fully matured | 3-6 months |
Phase 1: Early Post-op (0-2 weeks)
Goals
- Protect the surgical site
- Control pain and swelling
- Begin gentle motion to prevent stiffness
Instructions
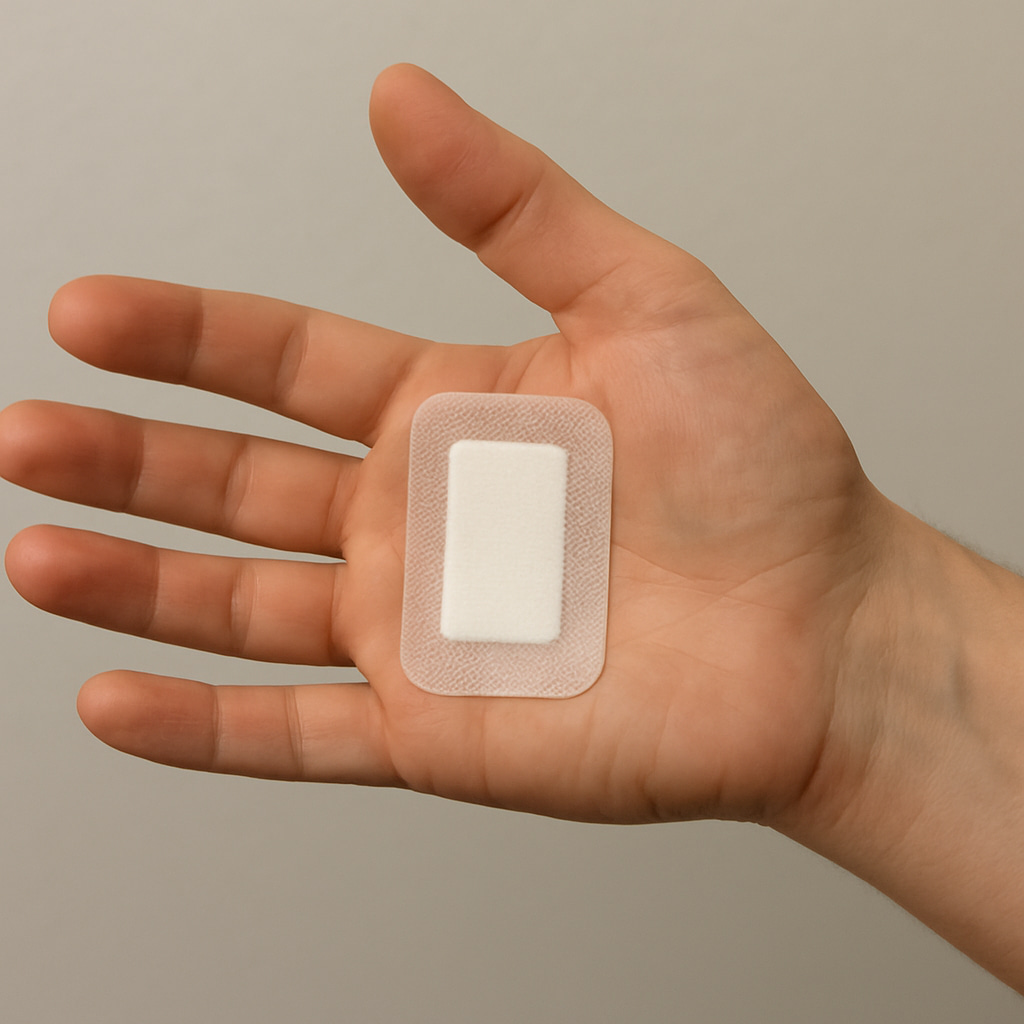
- Keep dressing clean and dry for the first few days.
- Elevate the hand regularly to minimize swelling.
- Apply ice packs (wrapped in a cloth) for 10-15 minutes, 3-4 times daily.
- Avoid heavy gripping, pinching, or lifting.
- Gently clean the incision after the dressing is removed as per Dr Lambers’ advice.
- Monitor for signs of infection.
Exercises
- Start gentle finger flexion and extension exercises several times per day.
- Tendon gliding exercises: Gently move the fingers through full range without forcing.
- Passive range of motion exercises if recommended by your therapist.
Phase 2: Intermediate Phase (2-6 weeks)
Goals
- Restore full finger motion
- Minimize scar adhesions
- Begin light functional use
Instructions
- Gradually resume light daily activities as tolerated.
- Continue hand elevation if swelling persists.
- Begin gentle scar massage after incision heals (around 2-3 weeks).
- Avoid forceful gripping or heavy lifting.
Exercises
- Continue tendon gliding exercises 3-5 times daily.
- Begin active range of motion exercises focusing on full extension and flexion.
- Place and hold exercises: Gently hold fingers in various positions for 5-10 seconds.
- Begin gentle strengthening exercises such as squeezing a soft sponge or therapy putty as tolerated.
Phase 3: Strengthening & Functional Phase (6-12 weeks)
Goals
- Restore strength and coordination
- Return to full functional and occupational activities
- Optimize scar mobility
Instructions
- Gradually increase activity level.
- Avoid activities that cause sharp pain or prolonged discomfort.
- Continue scar massage and desensitization techniques.
Exercises
- Progress strengthening exercises with putty, grip trainers, or elastic bands.
- Fine motor skill exercises (e.g. buttoning, typing, handwriting).
- Functional tasks that simulate work or daily activities.
Phase 4: Maintenance Phase (3-6 months)
Goals
- Maintain full range of motion
- Prevent recurrence of stiffness
- Ensure complete return to activities
Instructions
- Maintain regular stretching and strengthening exercises.
- Gradually resume all occupational and recreational activities.
- Use ergonomic tools if needed to reduce repetitive strain.
Exercises
- Daily stretching and range of motion exercises.
- Periodic strengthening exercises to maintain endurance.
- Continue any hand therapy techniques as advised.
When to Contact Dr Lambers
- Increased redness, swelling, or warmth around the incision
- Persistent or worsening pain
- Drainage or foul odour from the incision site
- Fever over 38°C
- Inability to move the finger as expected
- Numbness, tingling, or signs of circulation issues
Disclaimer
This is a general guideline. Your physiotherapist or Dr Lambers may adjust the protocol based on your specific condition and progress.