See Also:
Rehabilitation Goals
- Promote healing of bone and soft tissues
- Restore knee range of motion (ROM) progressively
- Gradually regain muscle strength
- Return to daily activities, work, and sport in a safe and staged manner
- Prevent complications such as stiffness or re-injury
Expected Recovery Time
| Milestone | Timeframe Range |
|---|---|
| Weight bearing with crutches | 0–6 weeks (partial to full) |
| Full range of motion | 6–12 weeks |
| Return to low-impact activities | 3–4 months |
| Return to high-impact activities | 6–9 months |
| Return to sport | 6–12 months |
Phase 1: Early Post-op (0–2 weeks)
Goals
- Protect surgical site
- Control pain and swelling
- Begin gentle muscle activation
- Prevent complications (e.g. DVT, infection)
Instructions
- Wear knee brace locked in extension at all times unless instructed otherwise
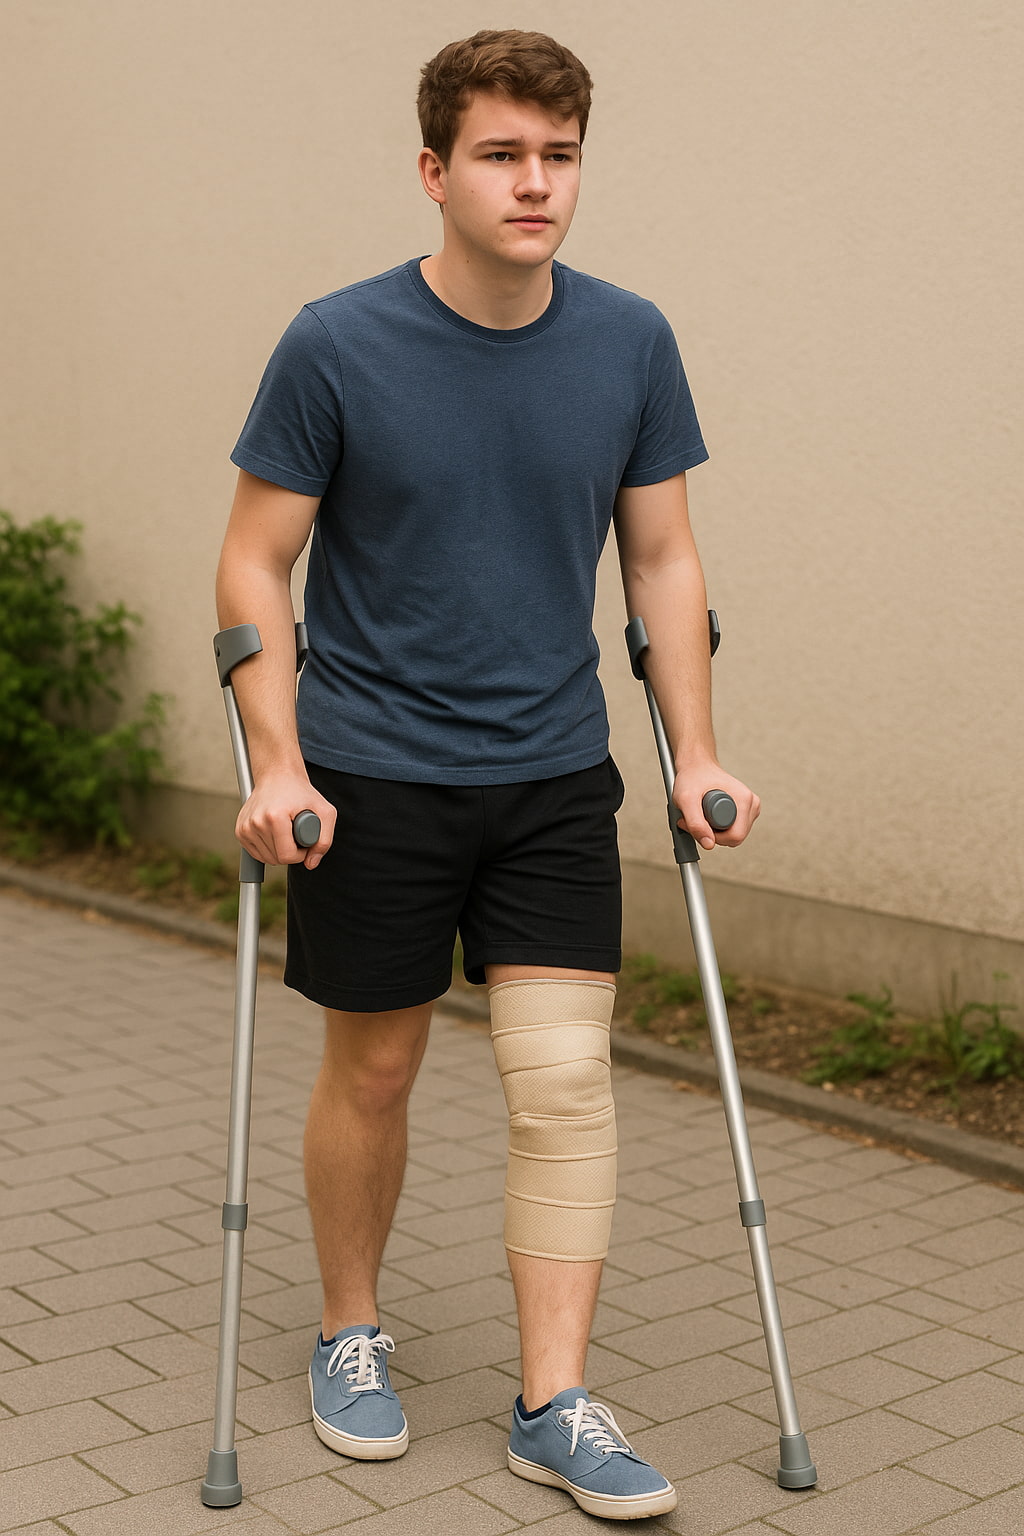
- Use crutches for ambulation (partial weight bearing as instructed)
- Elevate leg and apply ice packs (15–20 minutes, several times a day)
- Take prescribed medications as directed
Exercises
- Ankle pumps (30–60 per day)
- Isometric quadriceps contractions (3 sets of 10 repetitions, 3x/day)
- Straight leg raises (if no lag and permitted by surgeon)
- Gentle patellar mobilisations (as instructed by physiotherapist)
Phase 2: Protection and ROM (2–6 weeks)
Goals
- Continue protection of surgical site
- Gradually improve ROM (goal: 0–90° by week 6)
- Increase quadriceps strength
- Maintain hip and ankle mobility
Instructions
- Continue using knee brace (may unlock gradually for ROM exercises)
- Progress weight bearing as tolerated under guidance
- Continue icing and elevation as needed
Exercises
- Passive and active-assisted knee flexion exercises
- Heel slides
- Stationary bike (no resistance, short range only)
- Straight leg raises in brace
- Hip abduction, adduction, and extension exercises
Phase 3: Strength and Mobility (6–12 weeks)
Goals
- Achieve full ROM
- Begin strengthening and closed chain exercises
- Normalize gait
- Wean off crutches and brace
Instructions
- Discontinue brace and crutches when cleared by healthcare team
- Continue with structured physiotherapy program
- Monitor for any swelling or instability
Exercises
- Wall sits and mini squats (within comfort range)
- Step-ups and step-downs
- Resistance band exercises for hamstrings and quadriceps
- Stationary bike (increase time and resistance gradually)
- Core strengthening and balance training
Phase 4: Advanced Strengthening and Control (3–6 months)
Goals
- Restore neuromuscular control and endurance
- Improve single-leg strength and balance
- Begin functional and low-impact sport-specific training
Instructions
- Follow physiotherapist’s guidance for progressions
- Continue strength training 3–4 times per week
- Avoid jumping, running, or twisting movements until cleared
Exercises
- Single-leg squats and bridges
- Leg press and hamstring curls
- Elliptical machine and swimming
- Proprioception drills (e.g. BOSU ball, single-leg stance)
- Light agility work (shuffles, lateral movements)
Phase 5: Return to Sport (6–12 months)
Goals
- Return to full activity without pain or instability
- Demonstrate strength symmetry and dynamic control
- Safely reintroduce sport-specific skills
Instructions
- Clearance from surgeon and physiotherapist required
- Continue sport-specific rehab under guidance
- Avoid high-impact activities unless strength and biomechanics are adequate
Exercises
- Plyometrics (e.g. hopping, jump squats)
- Agility drills (e.g. ladder, cone drills)
- Sprint progression
- Sport simulation exercises
- Ongoing strength and conditioning maintenance
When to Contact Your Surgeon
Contact your surgeon immediately if you experience any of the following:
- Signs of infection (increased redness, warmth, swelling, or drainage at the incision site, fever over 38°C)
- Severe or increasing pain not relieved by medication
- Calf pain or swelling (possible blood clot)
- Numbness or tingling in the foot or leg
- Locking or giving way of the knee
- Delayed wound healing or opening of incision
Disclaimer:
This is a general guideline. Your physiotherapist or Dr Lambers may adjust the protocol based on your specific condition and progress.
